Carving a half-hull model is one of my favourite ways to spend time at the carving bench and is a great ‘novice’ carving project – I carved several when I first started out, including a powerboat, a table-top sculpture of a broads-yacht with sails carved from lime-wood ’till they were transparent, and a j-class yacht with mahogany below the water line and maple above.
There are several ways to carve a half-hull model, with many carvers stating that the best way is to laminate the hull in stepped laminates that follow the hull shape and which are then ‘faired’ into the final form. This method, it seems to me, is somewhat ‘potchy’ – you have to cut out and sand flat all those laminates, then glue them and clamp them and then, finally, get to the good bit and carve them into shape – and hope that the glue lines do not show or the model will have to be filled/sanded/painted. I must admit, I far prefer to just get on and carve the thing, although, I do sometimes like to use different colour timbers above and below the water lines.

lines of Albert Strange design ‘Mist’, image from Google Images, believed copy-right free as in public domain
The first thing you will need is a lines plan like the one above – the lines are the shape of the boat drawn on paper to show the 3-d shape of the boat. As you can see the lines plan is a method used to represent a 3-d shape in a 2-d drawing, what might not be so clear at first glance is that it shows the views of the hull from both the front and the back,but if you take a few moments to look at the lines carefully it all quickly becomes clear. For our purposes the side view, the deck plan and the outline of the boat as seen from the front and rear (bow and stern) are the most important
The lines plans can be enlarged/shrunk to fit the timber and transferred to the block ready for (band)sawing. Once the block is cut to shape then it can be carved using very few tools – a medium or shallow gouge is ideal, but a chisel can be made to do this work at a pinch. The tool marks must then be removed with a sanding block or Shinto-rasp.
This half-hull was carved using these tools: quick gouge (top)- gouge number 7,8 or 9, flat gouge-number 3, Shinto rasp
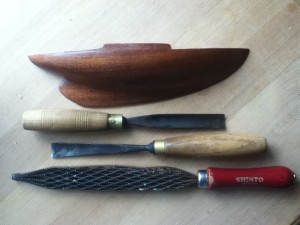 The quick gouge is called quick because it removes a lot of material very quickly; best used across the grain to avoid splitting off large chunks if timber, unless you want to do so -it is a useful technique if you are totally sure what will be split away.
The model was finished with a scraper, I never use abrasive cloths or paper unless there is absolutely no alternative.
This half-hull has been finished with a clear wax – the wax is applied and then heated gently with a hair drier until it melts into the wood grain, then buffed with a soft cloth.


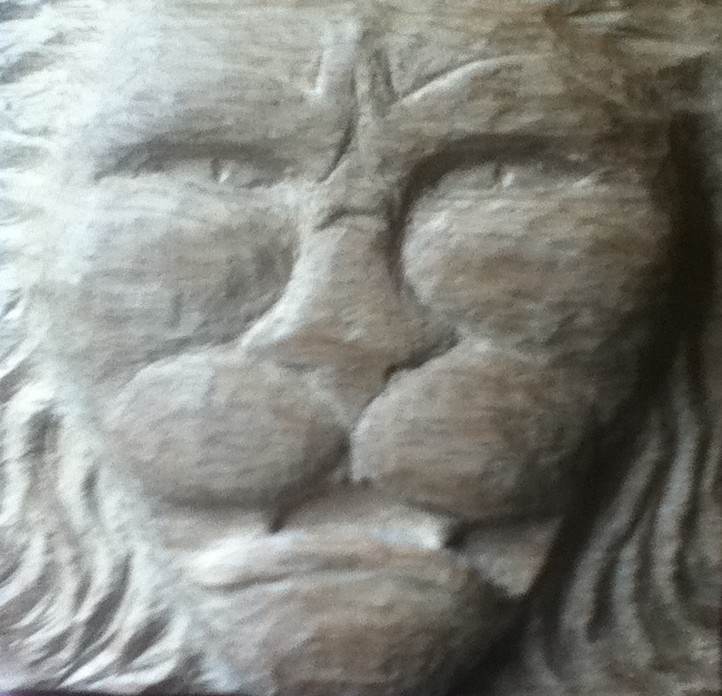


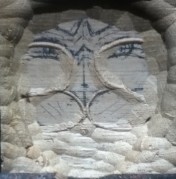


 One of the single most important features of a lion’ face is the eyebrow, it is really mportant that they are carved – it is the eyebrows that give him an expression/personality. The width of the muzzle also is important for this – wide and content or lean and hungry….


